
A kitchen deep clean means scrubbing every surface, appliance interior, and drain that regular wiping never touches, working from the ceiling down to the floor. Start by clearing your counters and pulling your supplies together. Most kitchens take three to six hours start to finish, largely because grease and grime need soak time before they'll budge.
TL;DR:
- Deep cleaning the kitchen involves scrubbing surfaces from ceiling to floor, with most tasks lasting three to six hours depending on grease buildup.
- Starting with ceiling fixtures and vent covers, then moving to upper cabinets, appliances, and finally floors prevents re-soiling and reduces rework.
- Appliance interior soaking, especially for the fridge, oven, microwave, and range hood, is key to removing bacteria and stubborn grime efficiently.
- Grease buildup on cabinets near the stove and countertops should be cleaned with gentle dish soap or patch-tested degreasers to avoid damaging finishes.
- A focused one-hour clean can significantly improve kitchen hygiene, prioritizing the fridge, stovetop, microwave, counters, and floors, with other areas deferred for later.
Table of Contents
- What You Need Before You Start a Kitchen Deep Clean
- What Order Should You Clean a Kitchen In?
- How Do You Deep Clean Kitchen Appliances?
- How Do You Clean Greasy Kitchen Cabinets and Countertops?
- How Do You Clean and Deodorize a Kitchen Sink and Disposal?
- Why Should Floors Be the Last Step in a Kitchen Deep Clean?
- Can You Deep Clean a Kitchen in Just One Hour?
- When Should You Hire a Professional Instead of DIY?
- Ready to Skip the Scrubbing? Book a Deep Clean
- Sources
What You Need Before You Start a Kitchen Deep Clean
Half the battle is having everything within reach before you touch a sponge. Stopping mid task to run to the store kills momentum and usually means a surface sits half cleaned longer than it should.
Gather this before you begin:
- Microfiber cloths (a stack of at least six)
- Dish soap and an all-purpose cleaner
- A degreaser for stovetop and range hood buildup
- Baking soda and white vinegar
- A non-abrasive sponge and an old toothbrush for grooves
- A bucket, mop, and broom
- Rubber gloves and garbage bags
- A cooler with ice if you're clearing out the fridge
Ventilation matters more than most people think. Open a window or run the range hood fan any time you're using degreaser or bleach based products, and wear gloves throughout. Before you start scrubbing, declutter the counters, empty the sink, unplug small appliances you're not using, and either run a load in the dishwasher or set dirty dishes aside so they're not in your way.
Pro Tip: Test any degreaser or cleaner on a hidden spot, like the inside of a cabinet door, before using it on visible surfaces. A gentle degreasing agent can strip finish just as fast as it strips grease if you don't patch-test it first.
What Order Should You Clean a Kitchen In?
Cleaning top to bottom isn't a suggestion, it's the whole strategy. Dust and grime fall as you work, so cleaning counters before you wipe down cabinets above them just means redoing the counters. Martha Stewart's kitchen cleaning guide lays out the same logic professionals use on every job: fixtures and ceiling first, floors dead last.
Here's the sequence that avoids rework:
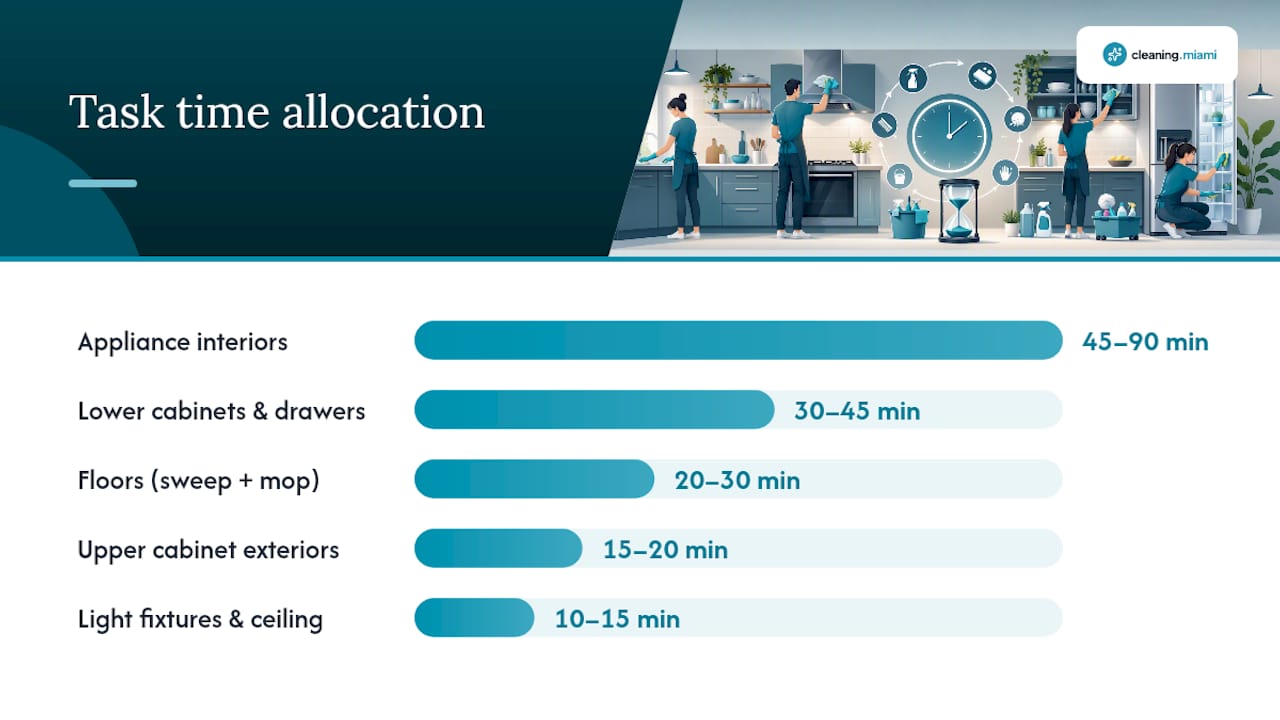
- Light fixtures and ceiling fan or vent covers (10 to 15 minutes)
- Upper cabinet exteriors and tops (15 to 20 minutes)
- Range hood and its filter, set to soak now (5 minutes to start, soak runs in background)
- Appliance interiors: oven, microwave, fridge (45 to 90 minutes, mostly soak and wipe)
- Appliance exteriors (10 minutes)
- Lower cabinets, drawers, and hardware (30 to 45 minutes)
- Countertops and backsplash (15 minutes)
- Sink and drain (15 minutes)
- Trash area and can interior (10 minutes)
- Floors, swept then mopped (20 to 30 minutes)
Start your soaking tasks, hood filter, oven racks, in the first five minutes so they're working while you tackle upper cabinets. Anything that isn't essential, like polishing the backsplash grout to a shine, can wait for next time if you're running short on daylight.
How Do You Deep Clean Kitchen Appliances?
Appliance interiors hold the most bacteria and the most stubborn grime, and they're where soak time pays off the most.
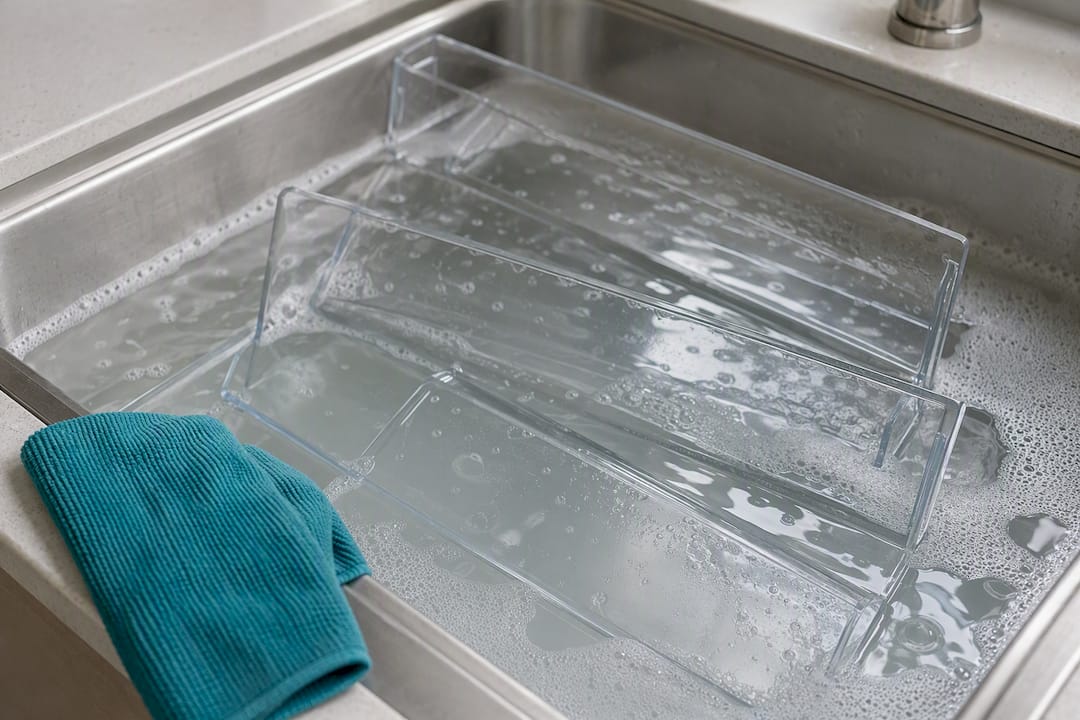
Fridge and freezer: Pull everything out, toss expired items, and wipe shelves with a vinegar and water solution or mild dish soap. Removable shelves and drawers can soak in the sink while you clean elsewhere. Check the coils behind or underneath every few months for dust buildup.
Oven: Skip the self-clean cycle if your oven is older, it can strain the heating element. Instead, coat the interior with a baking soda paste and let it sit overnight, then wipe clean in the morning. Clean racks separately in a soapy soak.
Microwave: Heat a bowl of water with vinegar or lemon slices for two to three minutes to loosen splatter with steam, then wipe from the top down. This trick also kills lingering odors.
Dishwasher: Remove and rinse the filter and check the spray arms for clogged holes, both are common sources of that musty smell and poor cleaning performance.
Range hood filter: Soak in hot water with degreaser for at least 20 minutes before scrubbing.
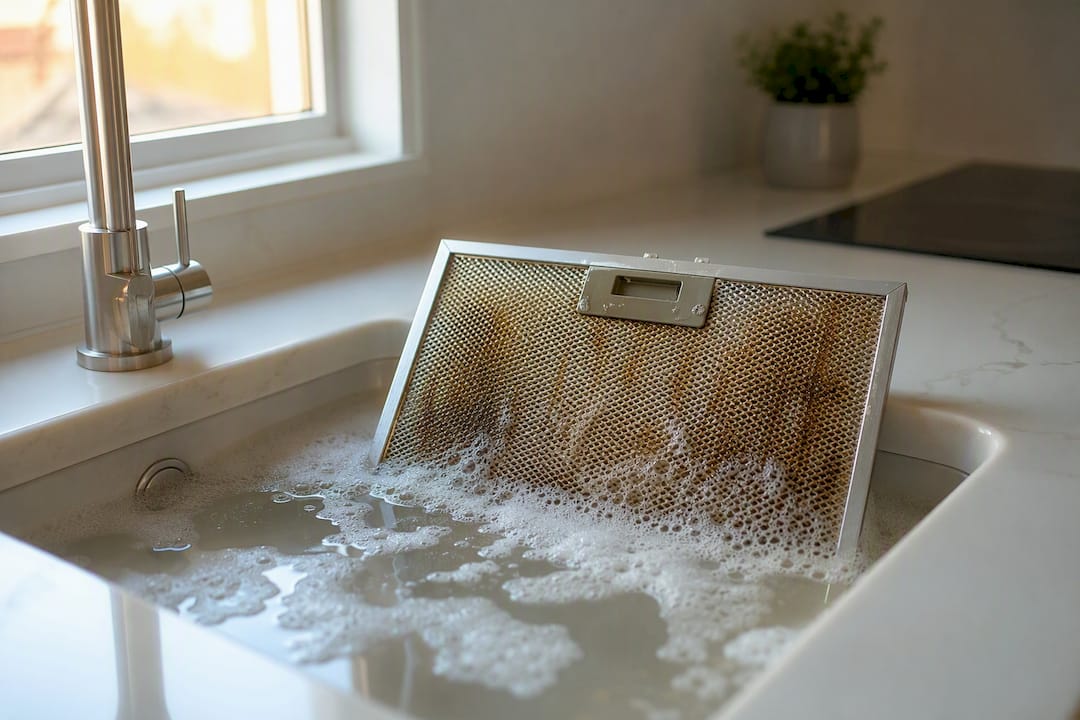
Pro Tip: Set your oven's baking soda paste and hood filter soak going before you clean anything else. By the time you finish the upper cabinets, both are ready to wipe clean instead of scrub.
How Do You Clean Greasy Kitchen Cabinets and Countertops?
Grease clings to cabinet faces near the stove worse than anywhere else in the kitchen, and the wrong cleaner can dull the finish permanently. For most buildup, warm water and dish soap on a non-abrasive sponge or microfiber cloth does the job. Save a stronger degreaser or baking soda paste for the thick, sticky spots, and always patch-test on an inside panel first.
- Remove knobs and pulls and let them soak in soapy water
- Scrub grooves and corners with an old toothbrush
- Dry hardware fully before reattaching to prevent rust spots
- Quartz and laminate handle most all-purpose cleaners fine
- Granite needs a pH-neutral cleaner, never vinegar or bleach, which etch the stone
- Wood surfaces want a barely damp cloth and a wood-safe cleaner, never soaking wet
How Do You Clean and Deodorize a Kitchen Sink and Disposal?
A sink looks clean and still smells bad more often than people realize, usually because the disposal or drain is the actual problem.
- Stainless steel: baking soda paste, scrubbed with the grain, then rinsed
- Composite or enamel sinks: mild soap only, since abrasive pastes can scratch the surface
- Unscrew the faucet aerator and soak it in vinegar to clear mineral buildup, then flush with running water
- Flush the disposal with baking soda followed by vinegar, then run cold water for 30 seconds
- Grind ice cubes with a handful of salt monthly to sharpen the blades and knock loose residue
If water backs up instead of draining after all this, you're likely dealing with a clog past the trap, and that's a job for a plumber rather than more vinegar.
Why Should Floors Be the Last Step in a Kitchen Deep Clean?
Floors go last because every task before this one drops crumbs, drips, and dust exactly where you're about to clean. Sweep or vacuum first to clear debris, then mop. Grout and tile floors can handle a monthly baking soda paste scrub, while wood floors need a manufacturer-approved cleaner and far less water.
- Use a pH-neutral cleaner on natural stone tile
- Mix baking soda and water for grout lines, scrub with an old toothbrush
- Wipe baseboards with a used dryer sheet, it grabs dust and leaves a light static charge that repels more
- Wash the trash can's interior with soap and water while the floor dries
Can You Deep Clean a Kitchen in Just One Hour?
You won't get everything, but a focused hour makes a real dent, and pros use this exact triage approach when time is tight.
- Minute 1 to 5: Start a baking soda soak on anything soakable, hood filter, one oven rack, sink.
- Minutes 5 to 25: Wipe down the fridge interior and stovetop, both matter most for food safety and are the most visible.
- Minutes 25 to 45: Clean the microwave using the steam trick, then wipe counters and backsplash.
- Minutes 45 to 60: Sink, faucet, and a quick floor sweep.
Postpone cabinet interiors and grout scrubbing for next time. Pro Tip: Set a timer for each block. Twenty-minute chunks keep you moving instead of lingering on one spot while the clock quietly disappears.
When Should You Hire a Professional Instead of DIY?
DIY covers most routine grease and grime just fine. Where I'd draw the line is mold behind appliances, baked-on oven damage, or a schedule that simply doesn't have three free hours. Professional deep-clean visits typically go further than a weekend DIY pass, covering vent interiors, appliance coils, and grout restoration that most people skip entirely. What matters most when you hand your kitchen to someone else is trust: insured, background-checked teams and a satisfaction guarantee turn "I hope this works out" into an actual standard. That's worth paying for on the jobs you'd rather not do twice.
— Erik
Ready to Skip the Scrubbing? Book a Deep Clean
If steam-cleaning your microwave and soaking oven racks overnight isn't how you want to spend your Saturday, Cleaning handles the entire sequence for you, top to bottom, with eco-friendly products suited to Miami's humidity and salt air.

Booking takes under 60 seconds online, and you can request a full kitchen deep clean or a whole-home visit depending on what needs the most attention. Prefer to handle the small stuff yourself and bring in help for the heavy lifting? Start with the steps above, then get a quote for the parts you'd rather hand off.
Sources
For more detail on specific tasks, Good Housekeeping covers cabinet degreasing, Martha Stewart breaks down the full top-to-bottom sequence, RealSimple details the one-hour method, and The Spruce offers a broader maintenance checklist.
- The Best Way to Clean Greasy Kitchen Cabinets — Good Housekeeping
- How to Deep Clean Your Kitchen From Top to Bottom — Martha Stewart
- How to Deep-Clean Your Entire Kitchen in an Hour (or Less), According to Pros — RealSimple
- Kitchen cleaning checklist — The Spruce